Did you know that not all of the ladybugs you see around are actually ladybugs? That’s right, there are imposters! The Asian lady beetle is an invasive species in Connecticut that can easily be mistaken for a ladybug.
Originating from East Asia, the Asian lady beetle was introduced into the US intentionally by the US Department of Agriculture as a biological control agent against aphids and scale insects, however their range has greatly spread to encompass most of the US and even some of Canada.
So, what’s the difference? Well to start, ladybugs are always red with black spots while Asian lady beetles colors and patterns can range from red with black spots, to orange with black spots. And sometimes red or orange with no spots at all! Ladybugs also are typically smaller and more round in shape than their invasive counterparts. The quickest way to tell the difference however is to look for a white “M” shaped mark at the base of their heads. This “M” is found in all Asian lady beetles, but ladybugs all lack it.
Ingredients:
- 8 tablespoons of softened butter (1 stick)
- ½ cup of white sugar
- ⅓ cup of light brown sugar
- 1 tsp of vanilla extract
- Red food coloring
- 1 egg
- 1 ½ cups of all purpose flour
- ½ tsp of baking soda
- ½ tsp of salt
- Mini chocolate chips
Multicolored Asian lady beetle (Harmonia axyridis)
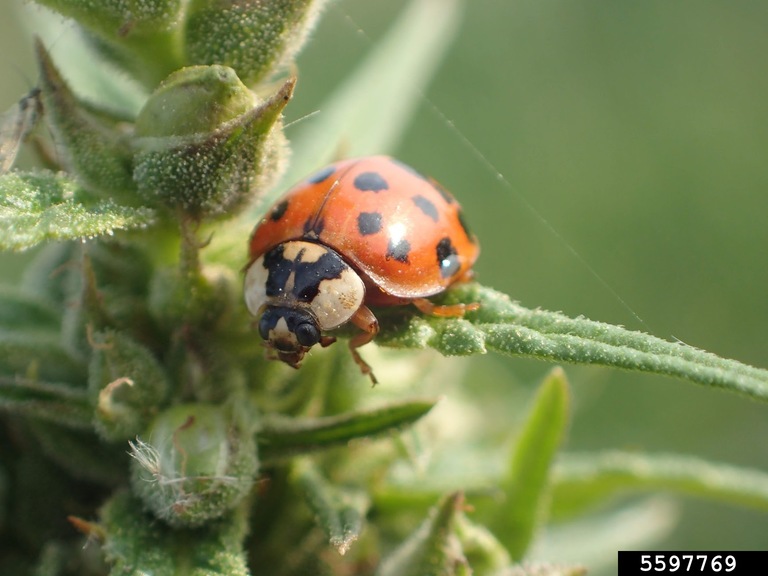
An Asian lady beetle position in a way that shows off the characteristic "M" shaped marking on its head
Step 1:
Preheat your oven to 350 degrees
Step 2:
Melt your butter in the microwave
Tip: Put it in for intervals of 20 seconds and mix/mash it with a fork until all of the butter has just melted
Step 3:
Beat the butter and both sugars until creamy and well combined
Tip: This should take about 8-9 minutes in a mixer on medium speed. Don’t forget to use a spatula to scrape off the sides of your mixing bowl!
Step 4:
Add in the vanilla and food coloring and combine on low speed
Tip: I added 10 drops of food coloring however you can modify it until you are satisfied with the color of the dough. The color darkens slightly in the oven.
Step 5:
Add in the egg and mix on low
Tip: Mixing too much can result in a cookie with a gummy texture, so as soon as everything is mixed together, shut off your mixer!
Step 6:
Combine the flour, baking soda, and salt in a separate bowl
Step 7:
Add the dry ingredients into the wet ingredients in thirds, mixing between each addition and making sure to scrape down the sides of the bowl
Tip: At this point, if the mixture looks too light you can add in more food coloring with one of the additions of the dry mixture
Step 8:
Once the mixture starts to form clumps, you can start to mix it with your hands until it forms a dough
Tip: Because we will not be directly adding chocolate chips to the dough itself it may seem a little wet, but don’t worry!
Step 9:
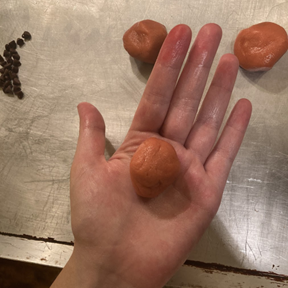
Create a ball with the dough by rolling it between your hands
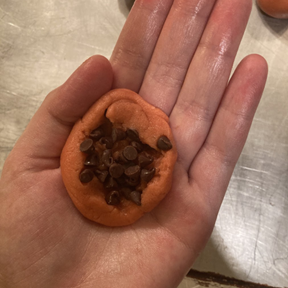
Step 10:
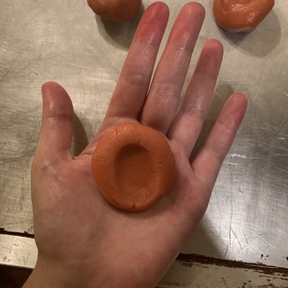
Make an indent in the ball with your thumb
Step 11:
Add as many chocolate chips as desired into the imprint
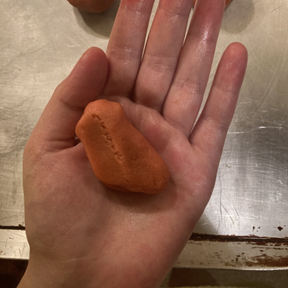
Step 11:
Pinch the dough in half and reroll it into a ball
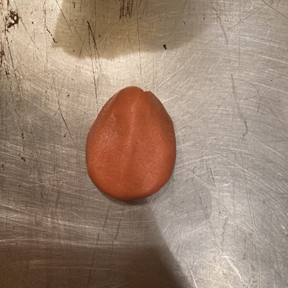
Step 12:
Place the ball on you cookie sheet
Tip: I like to then shape my coolie into a more oval shape to better resemble an Asian Lady Beetle!
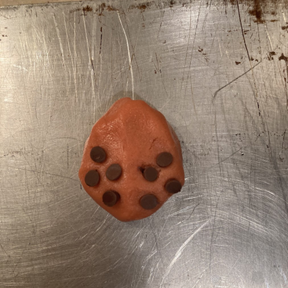
Step 12:
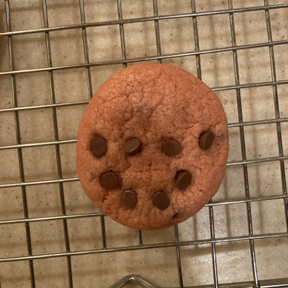
Add your chocolate chips to the ball in a symmetrical pattern, similar to that of an Asian lady beetle
Step 13:
Bake for 9-12 minutes and allow to cool on the baking sheet for 5 minutes and on a rack until fully cooled
Step 14:
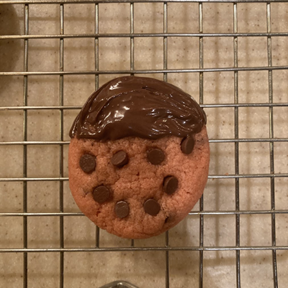
Melt chocolate chips

Step 15:
Using a fork, apply the melted chocolate to the top of the cookie (where no chocolate chips were placed)
Tip: If you don’t want to eat your cookies right away, let the chocolate solidify in the fridge
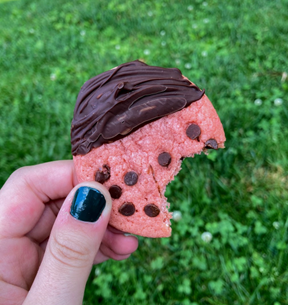
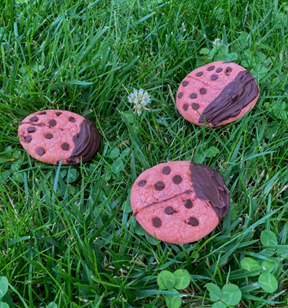
And there you have it! Beautiful, Asian lady beetle inspired chocolate chip cookies. Enjoy them as soon as they’re done or store them in an air tight container for up to a week outside of the fridge.